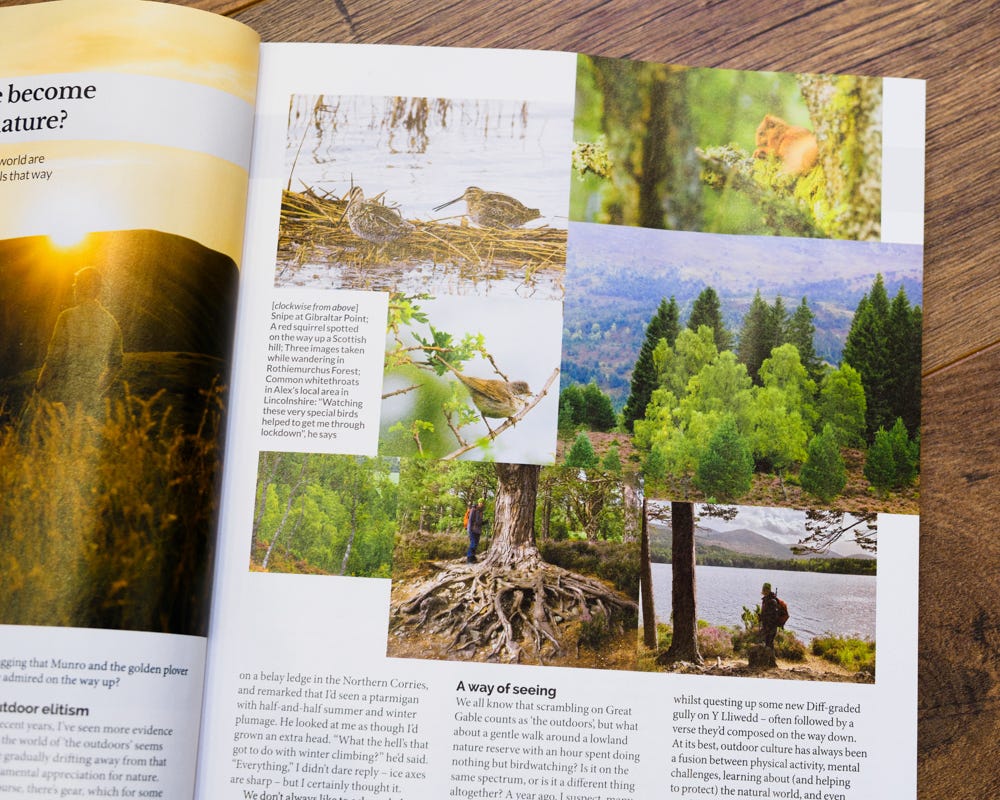
Outdoor and adventure photography tips
A few of the things I’ve learned over the years about successful outdoor and adventure photography.
First of all, a quick note about the intended use of images. In this piece I’m talking about images for editorial use, to accompany the written word in a publication. Specifically, this is a look at what has worked for me in my own career so far (mostly outdoor magazine articles and, increasingly, the odd book). Adventure photographers who are shooting images for a client with a different brief will, of course, have very different needs – as will bloggers, YouTubers, and folk who mainly shoot for Instagram.
1. Photography is important
For beginner outdoor writers, it’s tempting to believe that photography is a secondary consideration, and that your words are more important. The truth is that in many cases images are as important as your words. Writing can be revised, edited, polished, but if the supplied images aren’t good enough then there’s not much you can do.
My advice to aspiring outdoor writers is to work on improving your photography. All else being equal, a good writer who supplies reliably good images will be commissioned more often than a very good writer who can’t take a picture.
2. Look for story, and include human interest
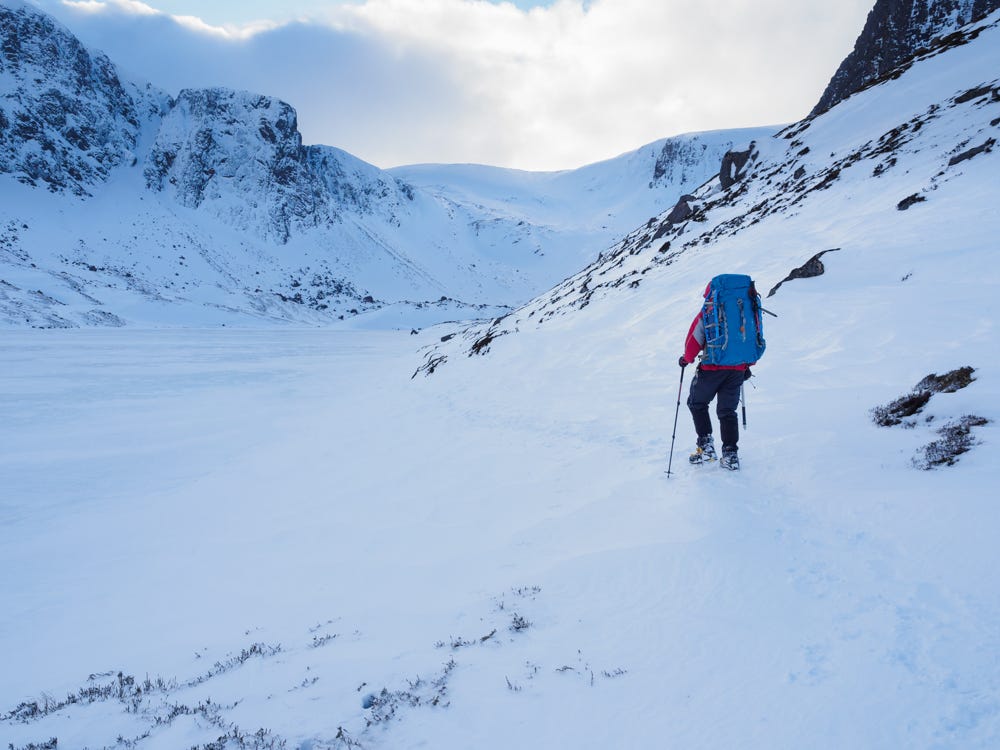
The images you supply are there to support a story; therefore, they can tell part of that story themselves. Images can be used as a form of visual storytelling. It’s often helpful to plan ahead and think about the images you need to create in order to support your planned narrative.
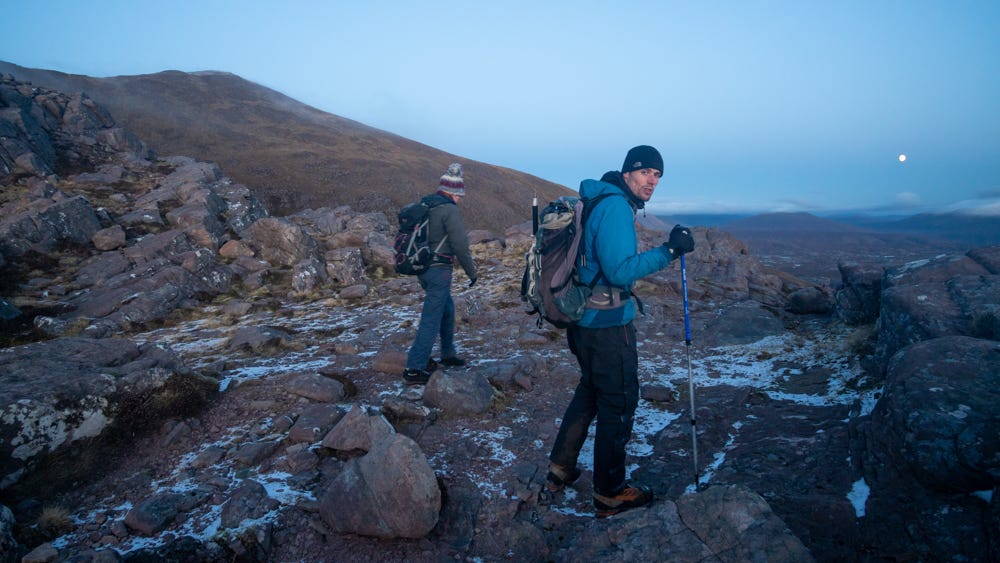
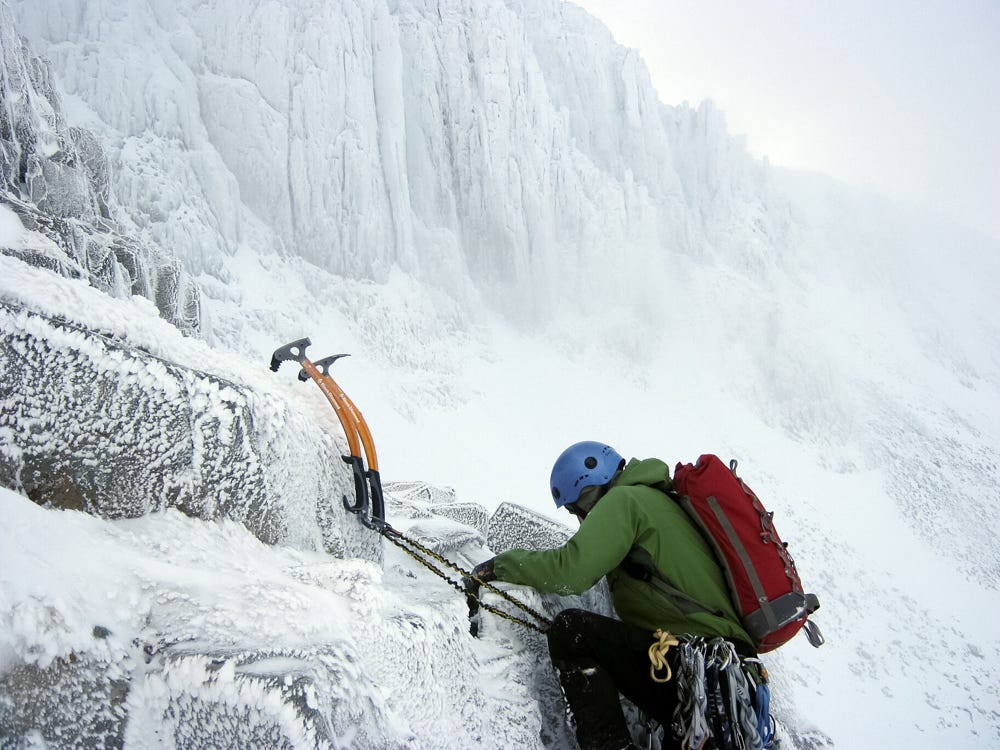
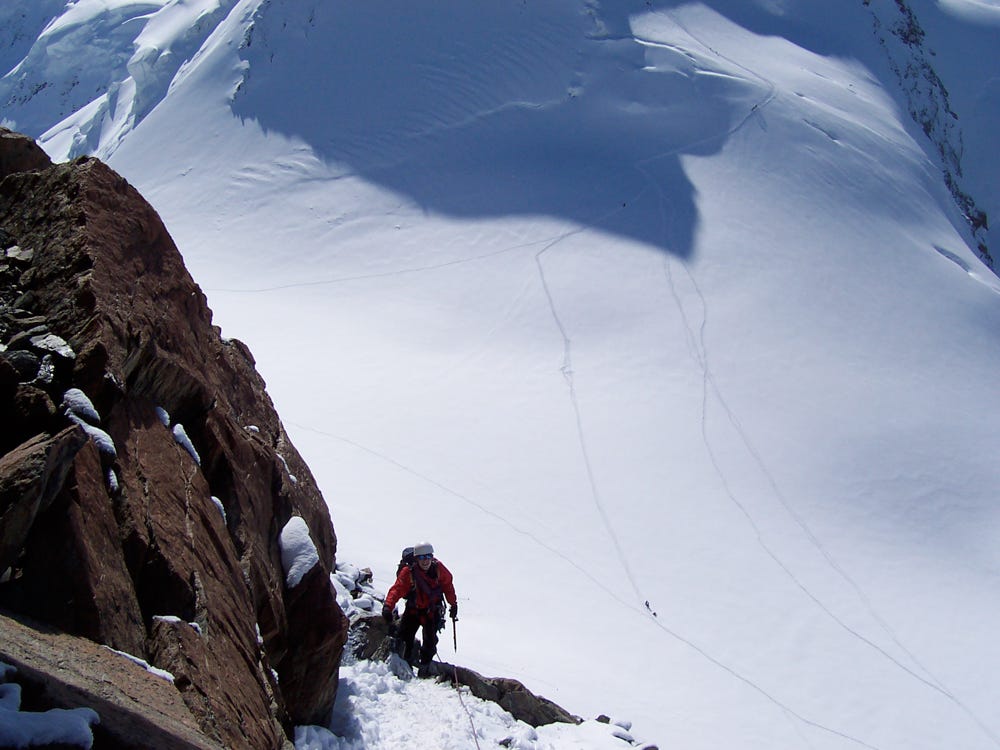
A mistake I made in some of my earliest work was to focus exclusively on landscape images. These certainly have their place, and some publications will be happy with that, while others will ask why you haven’t sent in any people shots! For example, out of the publications I regularly work with, Sidetracked and UKHillwalking are much more keen on dynamic storytelling images with a strong human element.
If an image has real storytelling impact, real emotion, nobody will care about technical limitations such as resolution, sharpness, or what kind of camera you used. These things help, but story is everything! Some of my best and most successful shots were taken by very basic compact cameras with soft lenses and low-resolution sensors – in some cases even with broken LCDs. So, while a lot of what I’m about to say certainly has relevance, content and subject override everything else.
3. Keep it simple
Heavy tripods, flashguns, grad filters and multiple lenses all have their place (especially if pitching to photographic magazines, where technical standards are often higher), but they can also slow you down and encumber your process. For photography on the hill, I suggest keeping your kit simple and lightweight: one camera body, one or two well-chosen lenses, a spare battery or two, and a camera bag. A lightweight tripod is also very useful, but you won’t always need it. A flashgun can be essential for some niche uses, and very occasionally can make the difference between getting the shot and coming away with nothing, but I don’t generally carry one.
4. Use a real camera
Phone cameras are powerful photographic tools, and phone images certainly have their place in published outdoor photography. I’ve had them published in both magazines and books. However, I would never use my phone as my sole camera on a trip. Why not? It comes down to reliability, flexibility, and level of control.
A phone can take a good image in good light, but in many other conditions it can be unpredictable and yield poor results. Most phone images straight out of camera also have a certain look about them – over-baked and a bit garish, with colours that aren’t quite right. Editors will notice this look! It’s caused by heavy software processing to overcome technical limitations such as the limited dynamic range of a tiny sensor.
A phone can also be awkward to shoot with in bad weather – especially if you’re wearing gloves, which can make touchscreen buttons and sliders almost impossible to use. Battery life is also limited, and most people will want to conserve it for more important functions such as communication and navigation.
A real camera will offer much better image quality thanks to a larger sensor and better optics. When shooting in raw (see below), even a small-sensor compact camera (such as the 1” sensor to be found in the Sony RX100 range) will be better than the best smartphone on the market. Although the results can be hard to tell apart in good light, it’s in the edge cases where the dedicated camera pulls ahead. Small cameras like this are a feasible choice for lightweight backpacking – I’ve successfully used a Canon G9x Mark II, very similar to the RX100, for several magazine features, and was satisfied by the results.
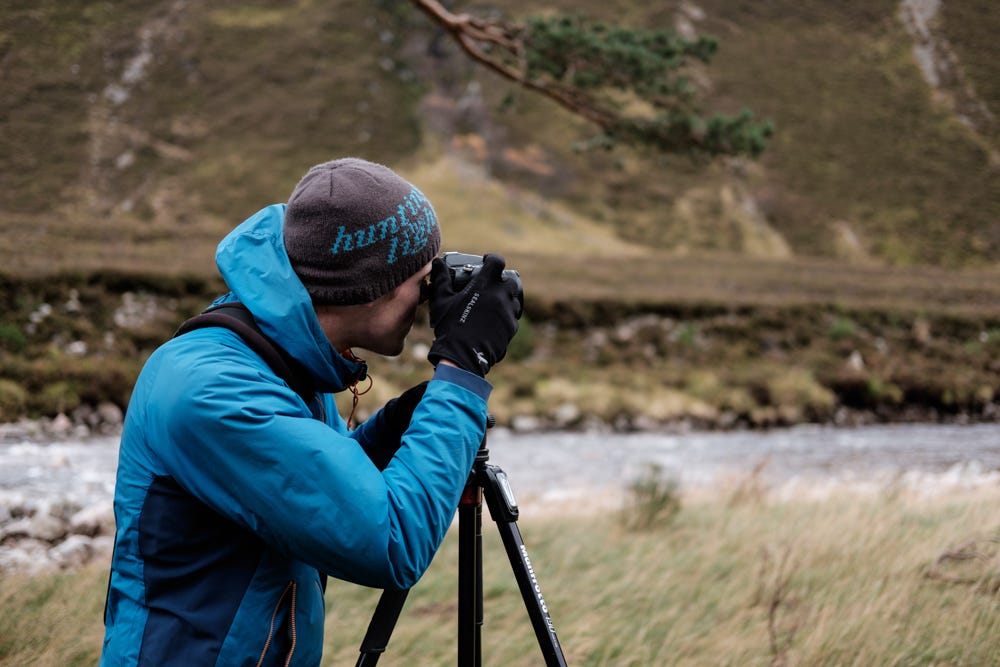
Larger mirrorless cameras and DSLRs offer even better controls and image quality, better battery life, and interchangeable lenses. Features to look out for are in-camera USB battery charging (very useful for multi-day backpacking), weather sealing (great for peace of mind on the soggy British hills), and in-body image stabilisation (not essential, but handy for windy conditions or low light).
5. Use your phone – but use it wisely
Phones have many benefits too: they’re compact, always on you, quick to deploy, have almost infinite depth of field thanks to a small sensor, and many models are waterproof. This makes them ideal for casual storytelling snaps that may not end up as a double-page spread but still have an important place. Supporting imagery like this is often printed at a much smaller size, and depending on subject it may not matter that the photo looks ‘smartphoney’.
For bigger and more important shots, the key to a natural look is to shoot in raw format using a third-party camera app, then process the image yourself for total control over the result. This will avoid the garish and overblown style I mentioned above. Smartphone images created this way can be almost impossible to tell apart from ‘real’ camera images. My app of choice is Lightroom Mobile, which lets you both shoot and edit all in the same app.
Last but not least, a decent smartphone makes a good backup camera in case you drop your main camera off a cliff!
6. Keep your camera to hand
Your camera is no use if it’s stowed in your rucksack. I suggest using a small camera bag, either on a shoulder strap or attached to your rucksack belt. The important thing is for the camera to be both accessible and protected from the weather. I also very much prefer a smaller camera bag, which feels less awkward to carry for long distances.
It’s surprisingly hard to find a really good camera bag for the mountains, but I’ve found the Lowepro Nova AW series to be decent. The 140 model fits a large mirrorless camera (or small DSLR) and one or two lenses, plus odds and ends such as spare batteries and memory cards. You also get a very handy waterproof rain cover. It won’t keep the water out for more than an hour or two, but it’s better than nothing.
If you have a smaller mirrorless camera, the Mirrorless Mover series from Think Tank is worth a look. The Mirrorless Mover 5 is ideal for a Sony a6x00 with kit lens, and the next size up (10) will fit a slightly larger camera with a standard zoom.
In really foul weather, you won’t be shooting anyway and you’ll probably want to put your camera bag inside your rucksack. This is another reason why smaller camera bags are better.
7. Use a telephoto lens
The wide-angle perspective is great for getting close to your subject and including a lot of background context. It’s also commonly used for landscape photography. Many adventure photographers looking to pack light end up carrying only a single lens – the ubiquitous standard zoom (24-70mm full-frame equivalent), covering moderately wide to ‘normal’ focal lengths, but stopping just short of genuine telephoto territory. This is a versatile lens – and it’s often the only lens I’ll carry – but if I can spare the weight then I’ll try to pack a telephoto as well. A telephoto brings distant objects closer and compresses perspective, creating a very different look.
If you have the eye for using a telephoto lens, you can create images that will immediately set your work apart. Editors are used to seeing submissions that feature a lot of photos from the wide-angle and normal perspectives, but it’s often only the most dedicated photographers who will carry a telephoto lens as well, and the results can be compelling.
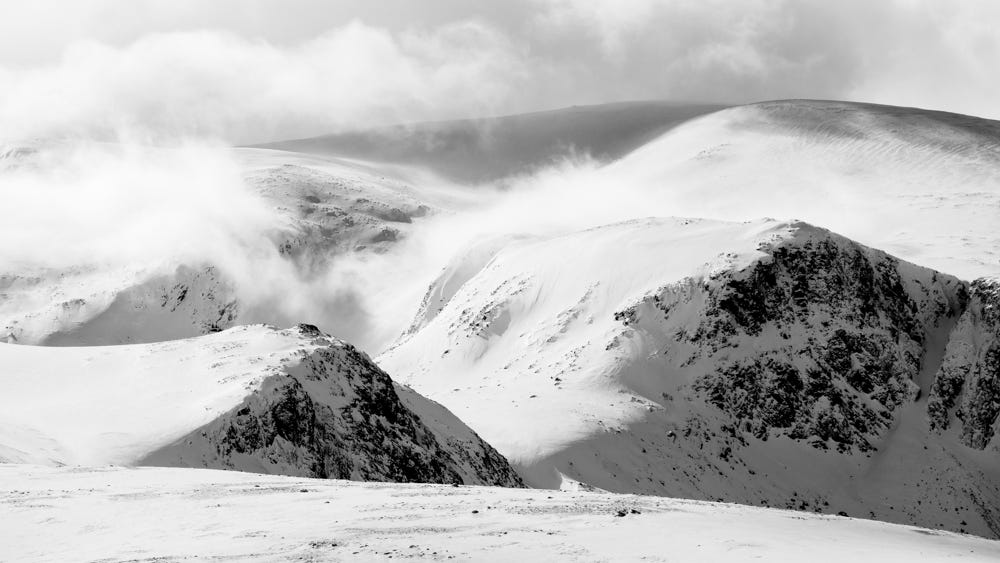
Telephoto lenses for full-frame cameras tend to be big and heavy. This is an area where smaller sensors have the advantage. Micro 4/3 cameras are worth a look if you expect to do a lot at telephoto focal lengths.
8. Lighting hacks
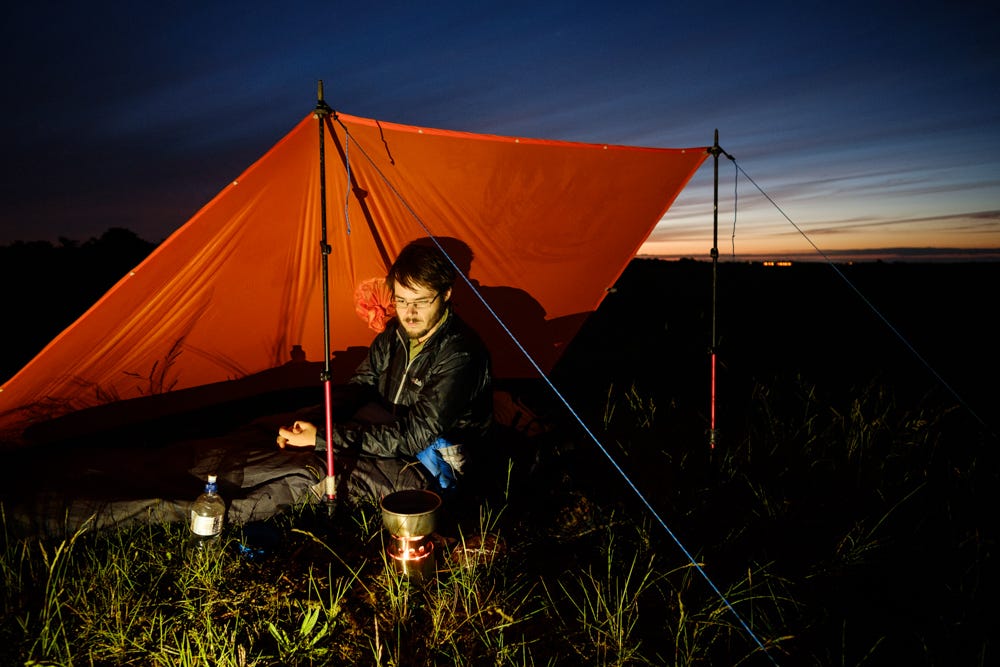
You probably won’t want to carry a flashgun on a multi-day hike, but it can still be useful to have some kind of control over lighting for those after-dark tent images. Your headlamp and maybe a small additional LED light are all you really need. A headlamp can create strong directional light, and can also be used for the classic ‘glowing tent’ shot (use a long exposure, and experiment with tissues as diffusers).
9. Shoot raw, or raw + JPEG
Most cameras can be set to store photos in two formats: JPEG, and raw. The former is processed by the camera, ready to view but with limited scope for further editing. If you’ve messed up the exposure by more than about a stop, you may not be able to rescue it. The JPEG is what the camera thinks your image should look like, often based on automated or semi-automated parameters, and may not correspond with your creative vision.
A raw file is what it sounds like: a raw, unprocessed file that you have to manually ‘develop’ into a finished photo using computer software such as Adobe Lightroom. This is a bit of an arcane art and can take a lot of practice to learn how to do well. However, it gives you complete control over the image, including rescuing highlights that are blown out (e.g. a washed-out white sky), correcting white balance (how cool or warm, green or purple the image looks), sharpening, and much more.
If you’re starting out, I recommend setting your camera to record both the raw and the JPEG. This gives you a JPEG you can use right away, plus the raw you can tinker and learn with. Later, as you become more confident, you may decide to dispense with the JPEGs.
Some photographers shoot entirely in JPEG quite happily. I find that this requires a slower approach and more forethought – rather like shooting film, because mistakes are a lot more final and you need to have confidence that the result will look how you want it to look. It’s a perfectly valid technique that can yield excellent results, but it does require a different mindset and it won’t suit everyone. Put simply, if you’re shooting JPEG then you have to get absolutely everything right in camera, whereas shooting raw defers some of these creative decisions to hours or days later when you’re sitting in front of your computer.
10. Don’t over-edit
Shooting raw gives you enormous flexibility over the finished photo. This is very powerful, but it also means that it’s easy to go nuts and end up with something that looks over-processed and unrealistic. While experienced photographers will have the perspective to know exactly what they want and how to achieve it, if inexperienced it can be hard to know where to draw the line. The clarity slider in Lightroom goes up to 100, after all.
Experiment by all means, and seek to refine your own style, but if starting out I suggest aiming for a look that doesn’t look like ‘a look’, if that makes sense. There’s room for artistic expression within a visual style rooted in reality.
As a beginner, I tended to edit my photos with an overly warm white balance and a bit too much clarity. This looked good to me at the time, but my tastes changed. I went through a phase of preferring a desaturated and low-contrast look. For the last couple of years, I’ve been drawn to more vibrant but natural colours and a relatively unobtrusive editing style.
11. Don’t get too hung up on gear
Remember, the image is the important thing!
Until next time,
Alex
If you'd like to support my writing and photography, you can buy me a coffee. Thank you!
If you enjoy my email letters or find them interesting, please tell someone else. Here is the signup link you can share: https://thepinnacle.substack.com


